Installation
⚙️ Installation Instructions
| Step | Description |
|---|---|
| 1 | Visit theIntranet Design 2 – SharePoint Designs listing on Microsoft AppSource and click Get it now. |
| 2 | You will be redirected to the SharePoint Store. ClickAdd to Apps Site to add it to your tenant.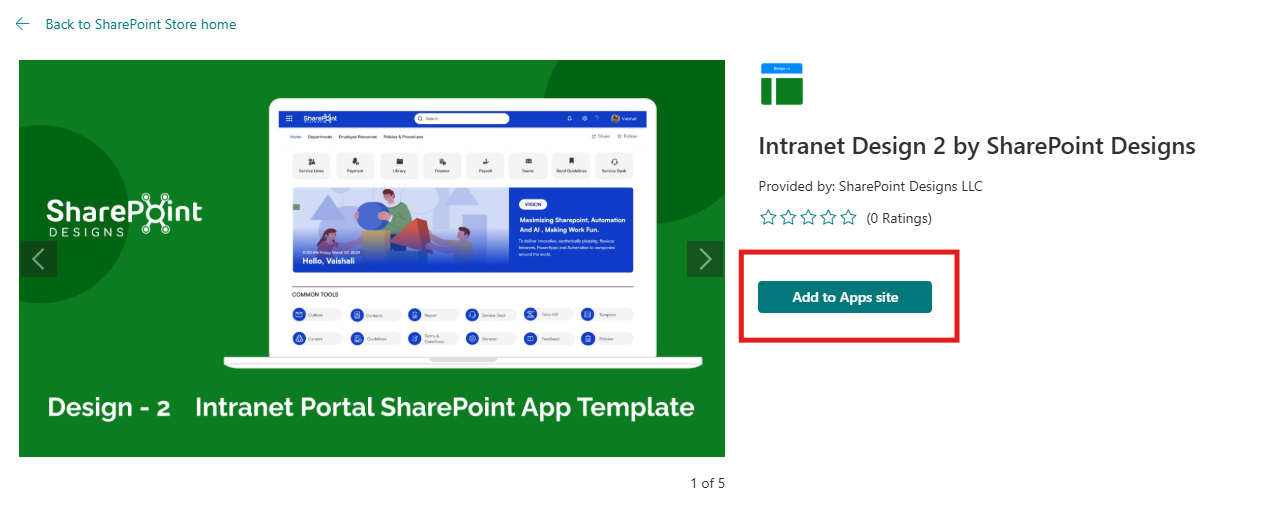 ⚠️ If you don't have permission, a popup will appear saying "App requires permission approval." A request will be raised, and your tenant administrator needs to approve it before the app can be added. |
| 3 | Navigate to any modern SharePoint site, and click theSettings icon.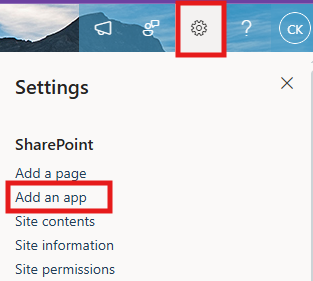 |
| 4 | Select**“Add an app”, and chooseIntranet Design 2 Site by SharePoint Designs**.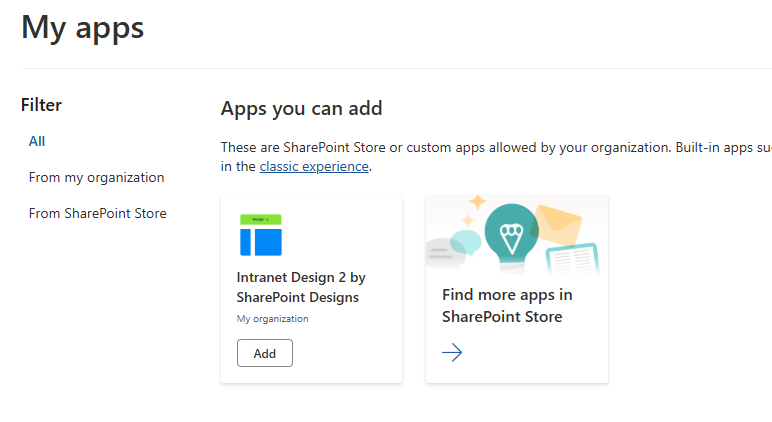 |
| 5 | ClickAdd. |
| 6 | After installation, go toSite Contents to confirm it's added to the site. |
🧪 Testing Instructions
Note: Upon adding the web part to the page, a free 15-day trial will start automatically.
-
Navigate to a modern SharePoint page or create a new one.
-
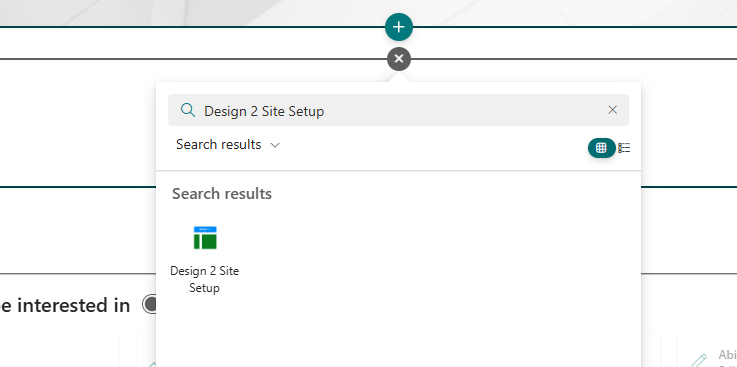
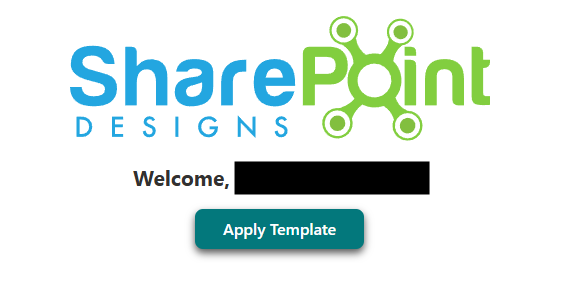
Edit the page and add the "Design 2 Site Setup" web part.
-
Republish the page.
-
Click the “Apply Design” button.
-
Do not close the browser. A pop-up will appear to create required lists and libraries with mock data (Applicable only for lists).
-
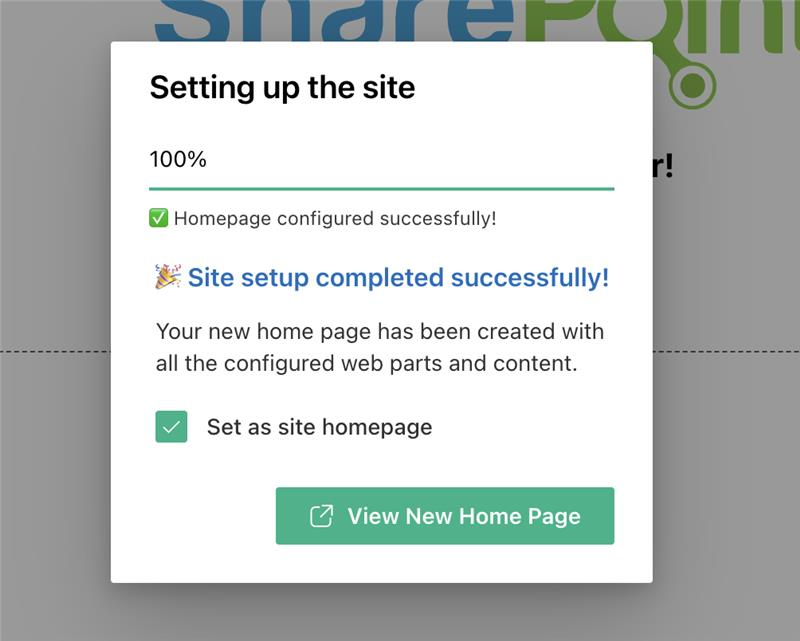
After creation, the page will refresh automatically and proceed with adding the necessary web parts and layout.
-
Once setup is complete - "Set as Homepage" checkbox will appear
- If checked, clicking "Open New Page" will open the newly created page and set it as the homepage.
- If unchecked, the new page opens normally without changing the homepage.
🔑 Activating a License Key
Once your free trial ends, you'll need a license key to continue using the app.
License Activation Steps
| Step | Action | Details / Notes |
|---|---|---|
| 1 | Go to the app page | Navigate to the SharePoint page where the app is installed. |
| 2 | Open activation panel | - If the trialhas expired, you'll see an "Activate" button on the app — click it. - If the trial is still active and you want to activate it, edit the page → open the Web Part property panel → click "Activate License".  |
| 3 | Launch activation dialog | A dialog box will appear prompting for a key.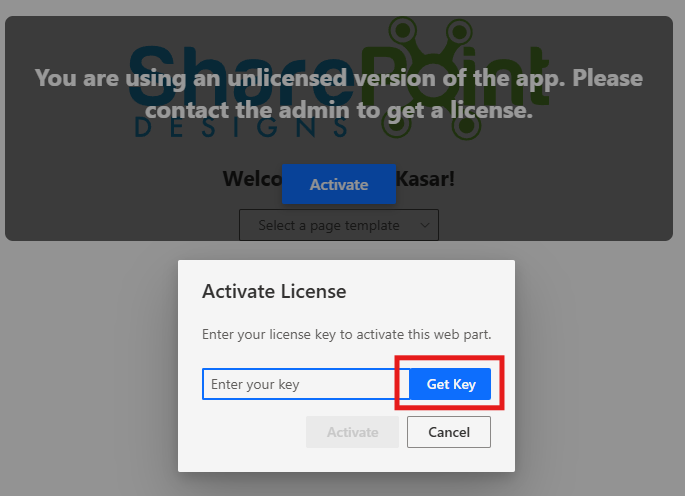 |
| 4 | ClickGet Key | In the license dialog, clickGet Key — this will take you to the payment page in a new tab. |
| 5 | Purchase the license | Complete the payment process. Once done, you’ll receive a license key via email. Be sure to check your spam/junk folder if you don't see it. |
| 6 | Enter and activate the key | Go back to the SharePoint page, paste the license key into the dialog box, and clickActivate to complete activation. |
✅ Done! Your app is now fully activated.
✅ Expected Behaviour
The following SharePoint Lists are automatically created based on the Home Page:
- Top Navigation
- CommonTools
- Facilities
- Holidays
These lists are pre-filled with demo/mock items for easy testing. No manual configuration required after clicking the Apply template button.
🔍 Validate Each Web Part on the Provisioned Page
HOME PAGE
| Webpart | Description |
|---|---|
| 🧭 Top Navigation | -Intuitive Access: Minimalist top navigation for easy access to essential intranet areas. |
| 👋 Welcome Banner | -Personalized Welcome Banner: Greets the user by name with the current date and time, creating a friendly and engaging intranet experience. |
| 🔗 Quick Links | -Essential Resources: Provide easy access to frequently used tools and documents. - Clear Icons: Use formal icons and labels for better navigation. |
| 📰 News | -Date-stamped announcements or articles with brief summaries. Provides timely updates on departmental or industry developments |
| 🏢 Facilities | -Organizational Facilities: Highlight various facilities of your organization with brief descriptions and images. |
| 🎉 Holidays | -Upcoming Holidays Overview: Displays a list of upcoming holidays with corresponding dates for user awareness and planning. |
| 📅 Events Calendar | -Event Calendar: Display meetings and company events. - Detailed Info: Include dates, times, and locations. |
🧹 Uninstall Guide
Follow the steps below to uninstall the Intranet Design 2 by SharePoint Designs app from your SharePoint site:
- Go to your SharePoint site and click on Site Contents from the left side navigation or the settings menu.
- Find Intranet Design 2 by SharePoint Designs in the list of installed apps.
- Click the three dots (···) next to the app name and select "Remove".
- If prompted to switch to the Classic Experience, follow the prompt to proceed.
- In the Classic Experience, hover over the app again, click the three dots (···), and then click Remove to finalize the uninstallation.
🛠️ Troubleshooting Common Issues
⚠️ Issue: Web Part Not Displaying Correctly
Solution: Ensure that the web part has been added to a modern SharePoint page and that the page has been republished. Check for any missing permissions that might be required for the web part to function correctly.
🗃️ Issue: Lists/Library Not Created
Solution: Verify that the "Apply template" button was clicked after adding the "Design 2 Setup" web part. If the lists/Library are still not created, delete the page and reapply the design.
📝 Issue: Missing Demo Items
Solution: Check if the lists items are present in the Site Contents. If the lists are empty, manually add demo items or reapply the design.
🌟 Best Practices
🔁 Regular Updates
- Keep Content Fresh: Regularly update the content on your SharePoint site to keep it relevant and engaging.
- Monitor Performance: Regularly check the performance of your SharePoint site and make necessary adjustments to improve speed and user experience.
🎓 User Training
- Provide Training: Offer training sessions for users to help them understand how to use the SharePoint site effectively.
- Create Documentation: Develop comprehensive documentation to guide users on how to navigate and use the site.
🔐 Security Measures
- Implement Security Protocols: Ensure that proper security measures are in place to protect sensitive information.
- Regular Audits: Conduct regular security audits to identify and address potential vulnerabilities.
🗣️ User Feedback
- Collect Feedback: Regularly collect feedback from users to understand their needs and improve the site accordingly.
- Act on Feedback: Implement changes based on user feedback to enhance the overall user experience.
🤝 Collaboration
- Encourage Collaboration: Promote collaboration among team members by providing tools and features that facilitate communication and teamwork.
- Use SharePoint Features: Utilize SharePoint features such as document libraries, lists, and workflows to streamline collaboration and improve productivity.
🧑💼 User Permissions
🗂️ Assigning Permissions
- Site Owners: Have full control over the site and can manage permissions for other users.
- Site Members: Can contribute content and interact with the site but have limited administrative capabilities.
- Site Visitors: Have read-only access to the site and cannot make any changes.
🛡️ Managing Permissions
- Permission Levels: Define different levels of access for users based on their roles and responsibilities.
- Custom Permissions: Create custom permission levels to meet specific needs and requirements.
- Inheritance: Manage permissions inheritance to ensure consistency across different site collections and subsites.
🧾 Best Practices for Permissions
- Least Privilege Principle: Assign the minimum level of permissions necessary for users to perform their tasks.
- Regular Reviews: Conduct regular reviews of user permissions to ensure they are up-to-date and aligned with current roles.
- Documentation: Maintain documentation of user permissions and any changes made to ensure transparency and accountability.
🆘 Support
Please contact SharePoint Designs 🌐 www.sharepointdesigns.com 📧 support@sharepointdesigns.com